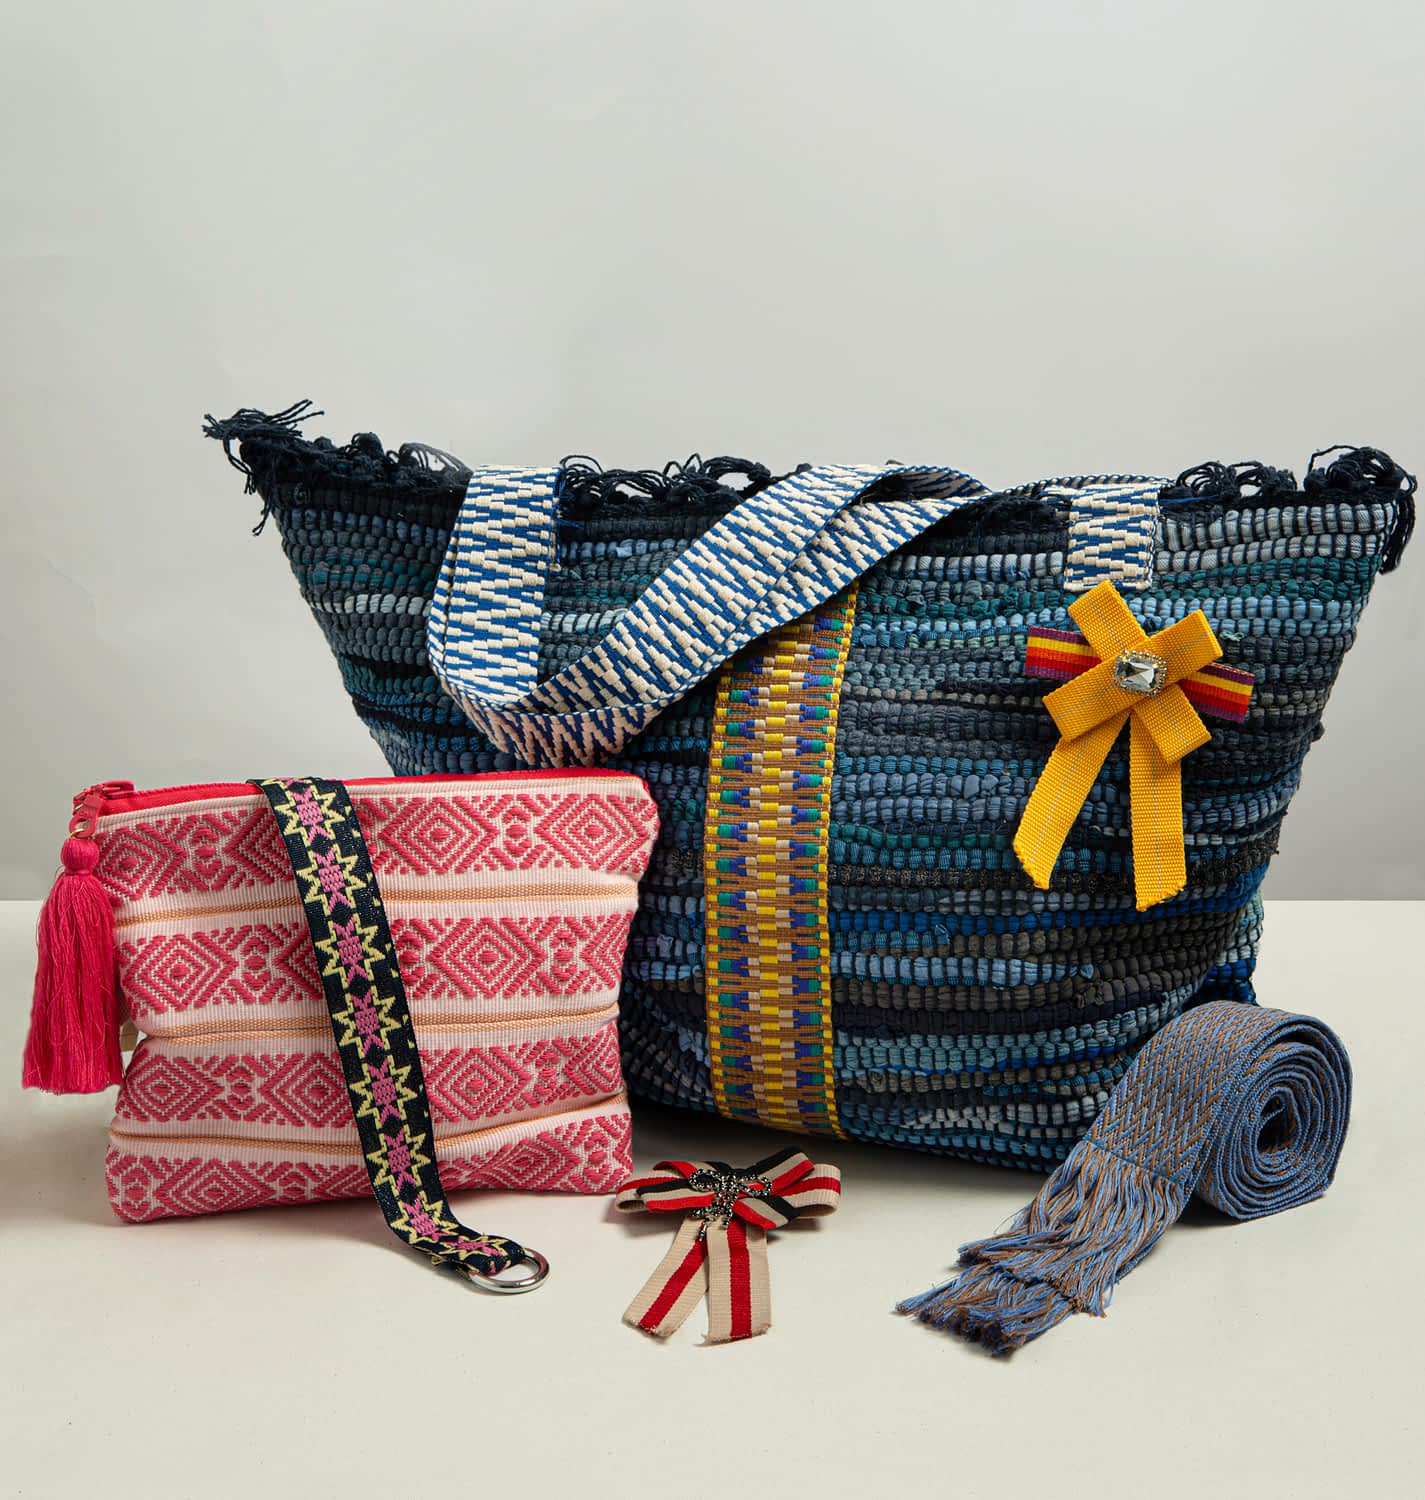
In this DIY series we are going to show you how to make a variety of basic bags. Today we start with a simple tote bag – the base of many bags.
In addition, you can carry this bag in 3 different ways: as a handbag, as a shoulder bag or as a crossbody fold over bag. This basic bag does not have a closure, but you can add one if you want to.
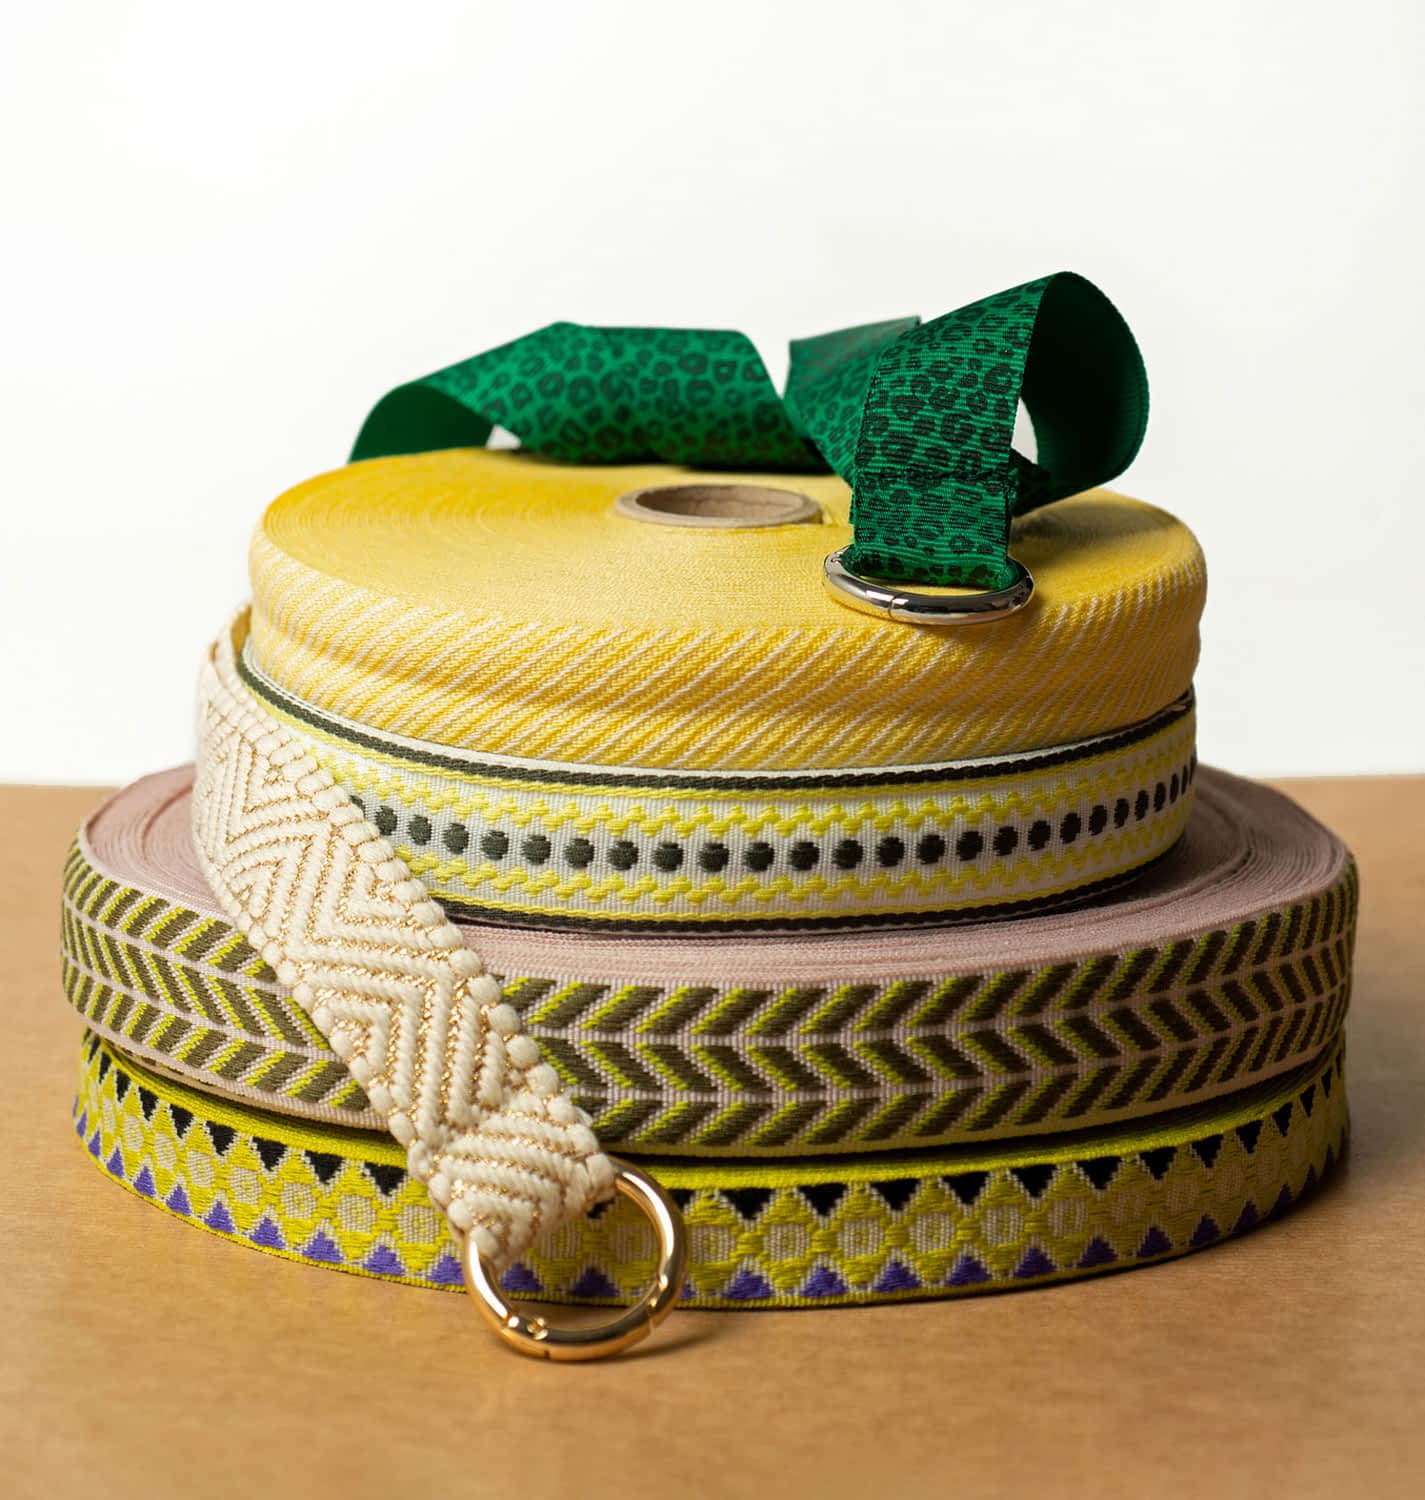
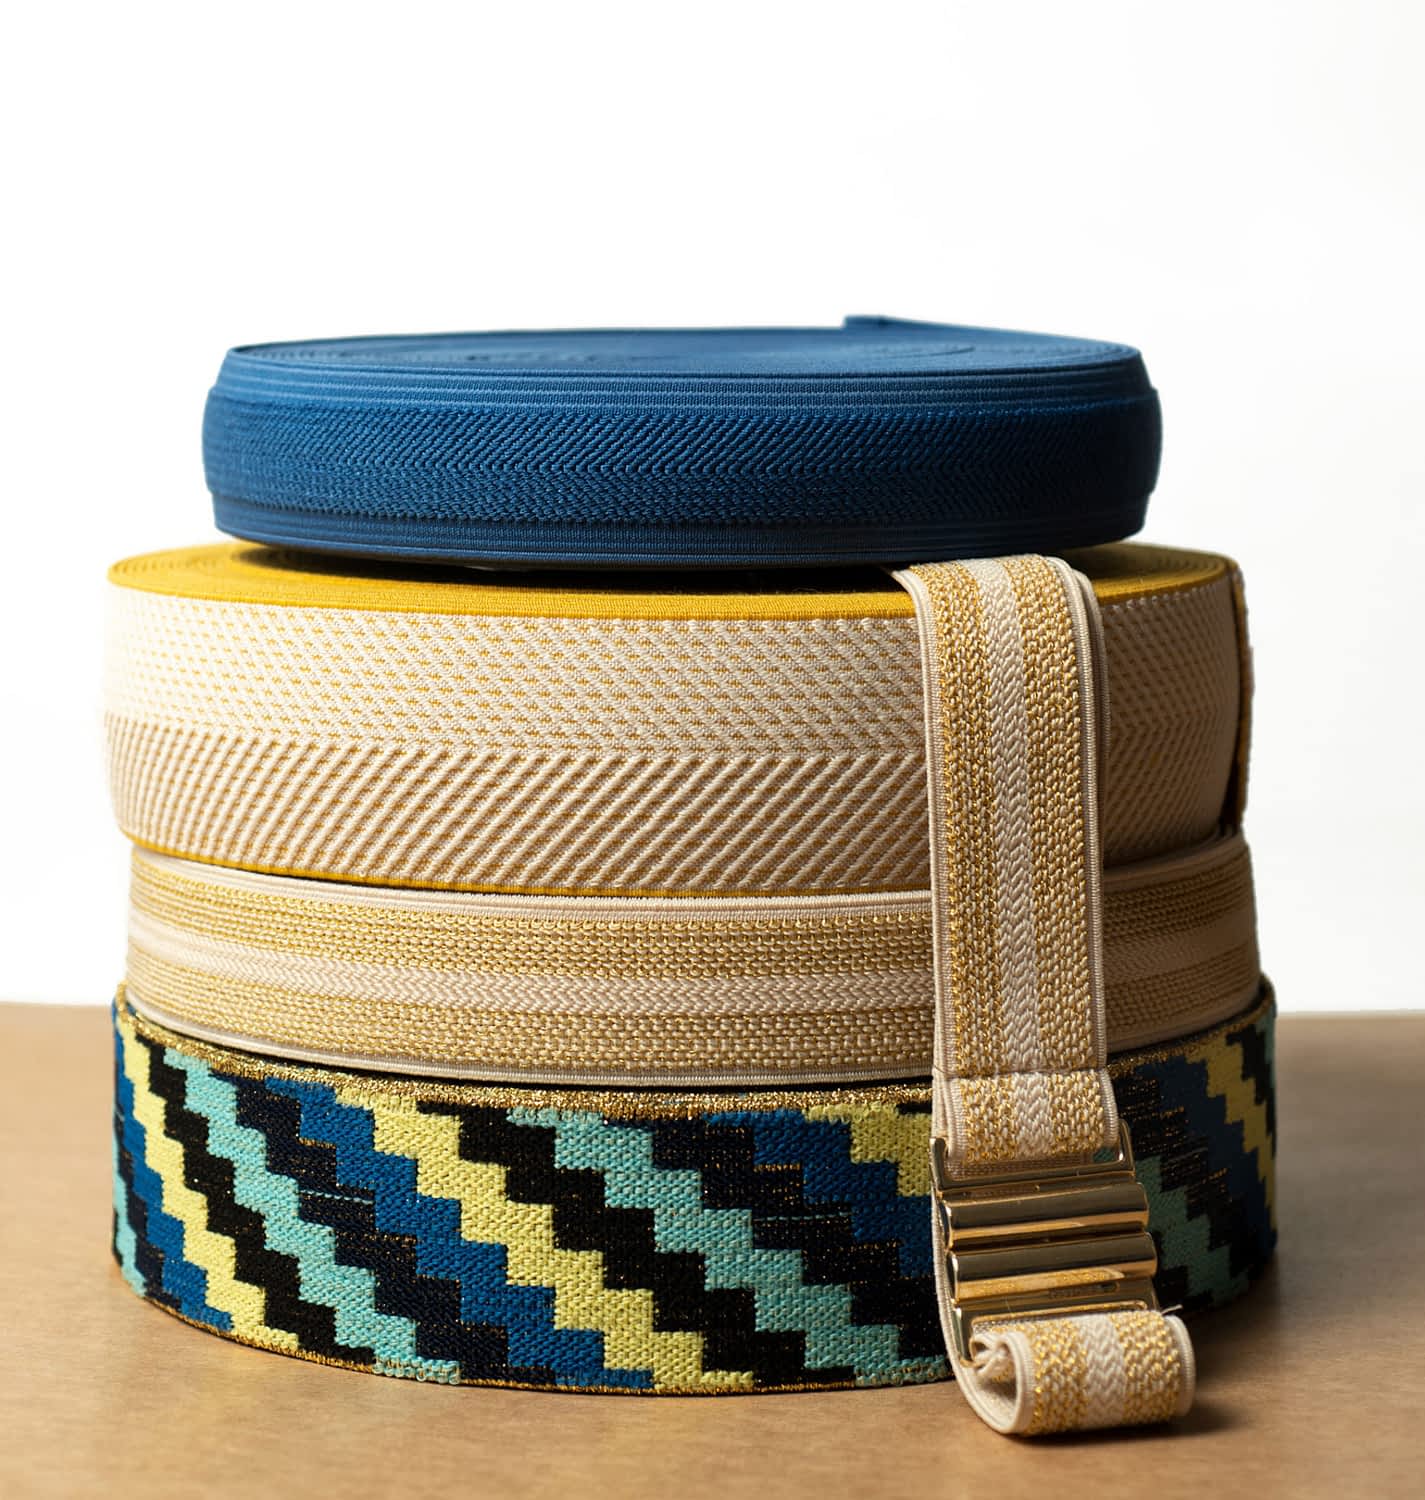
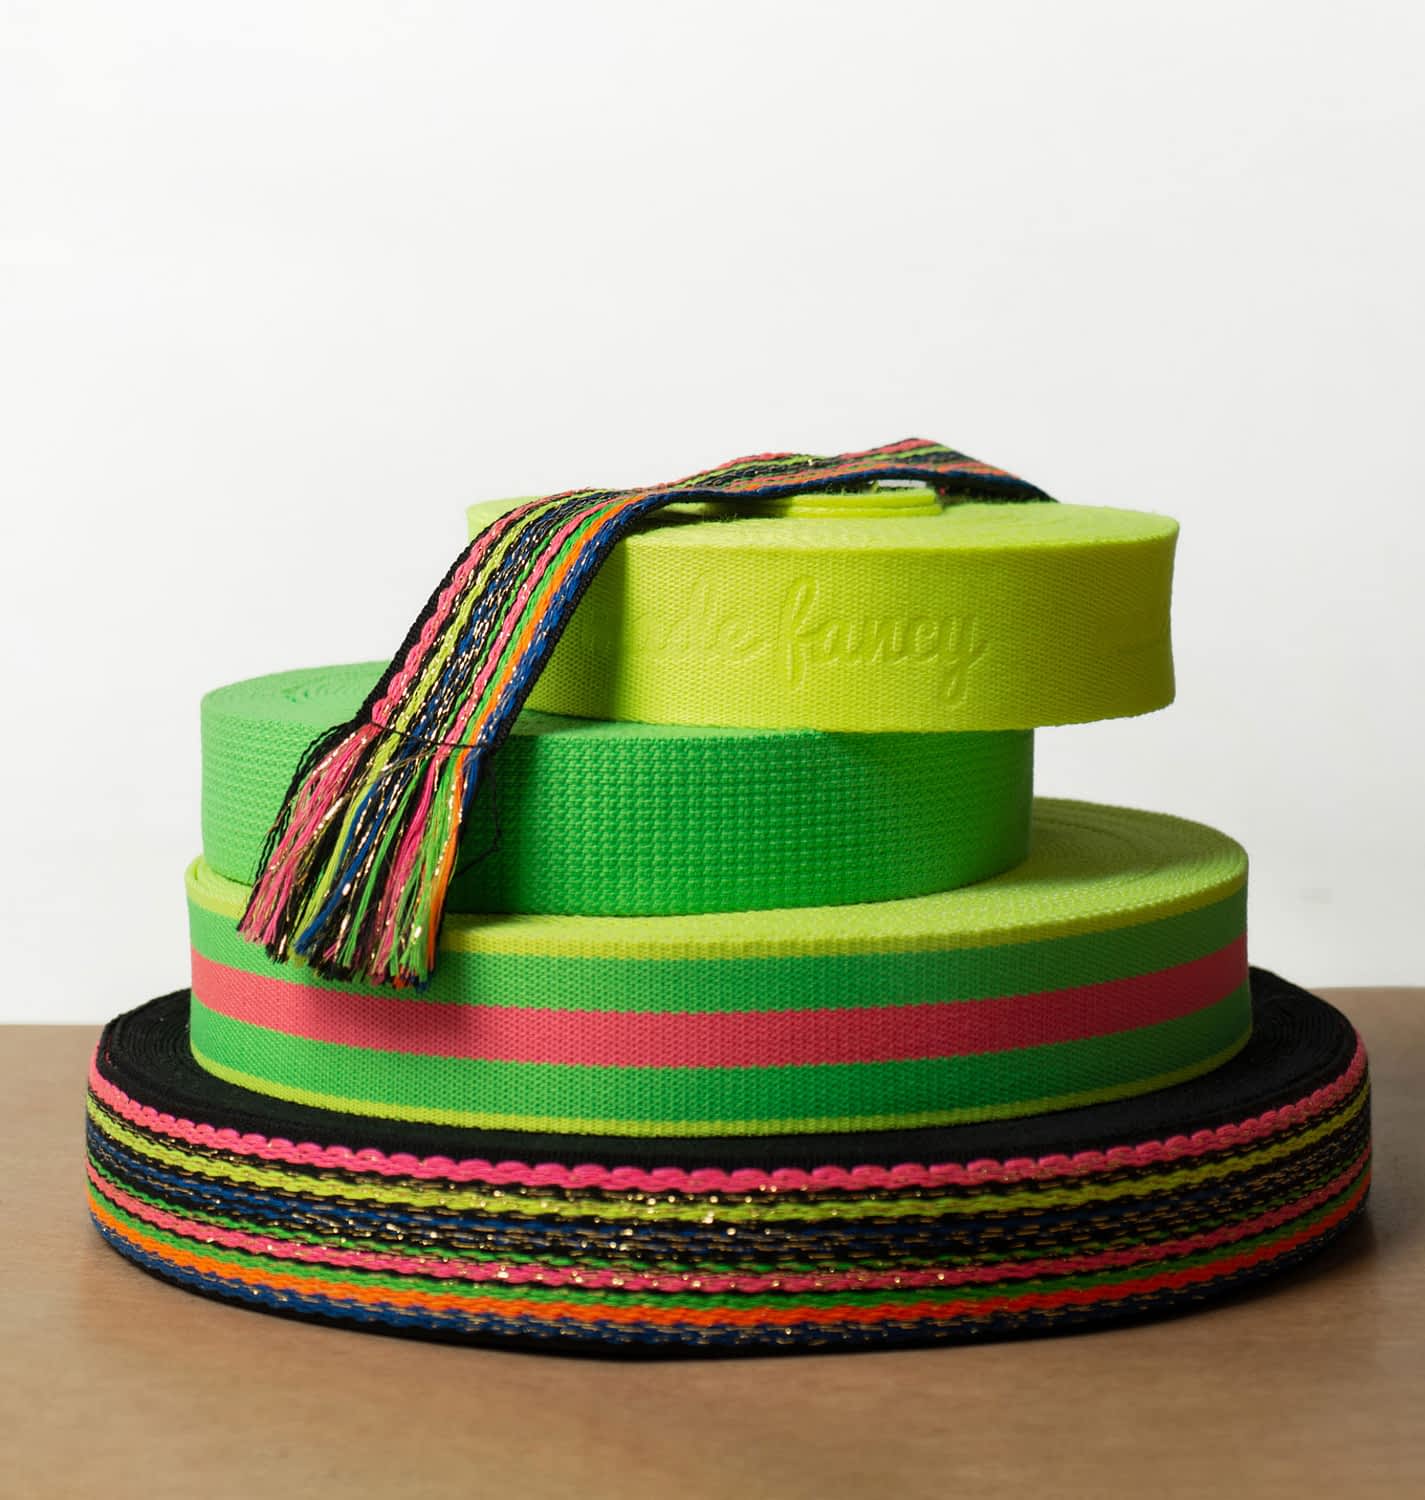
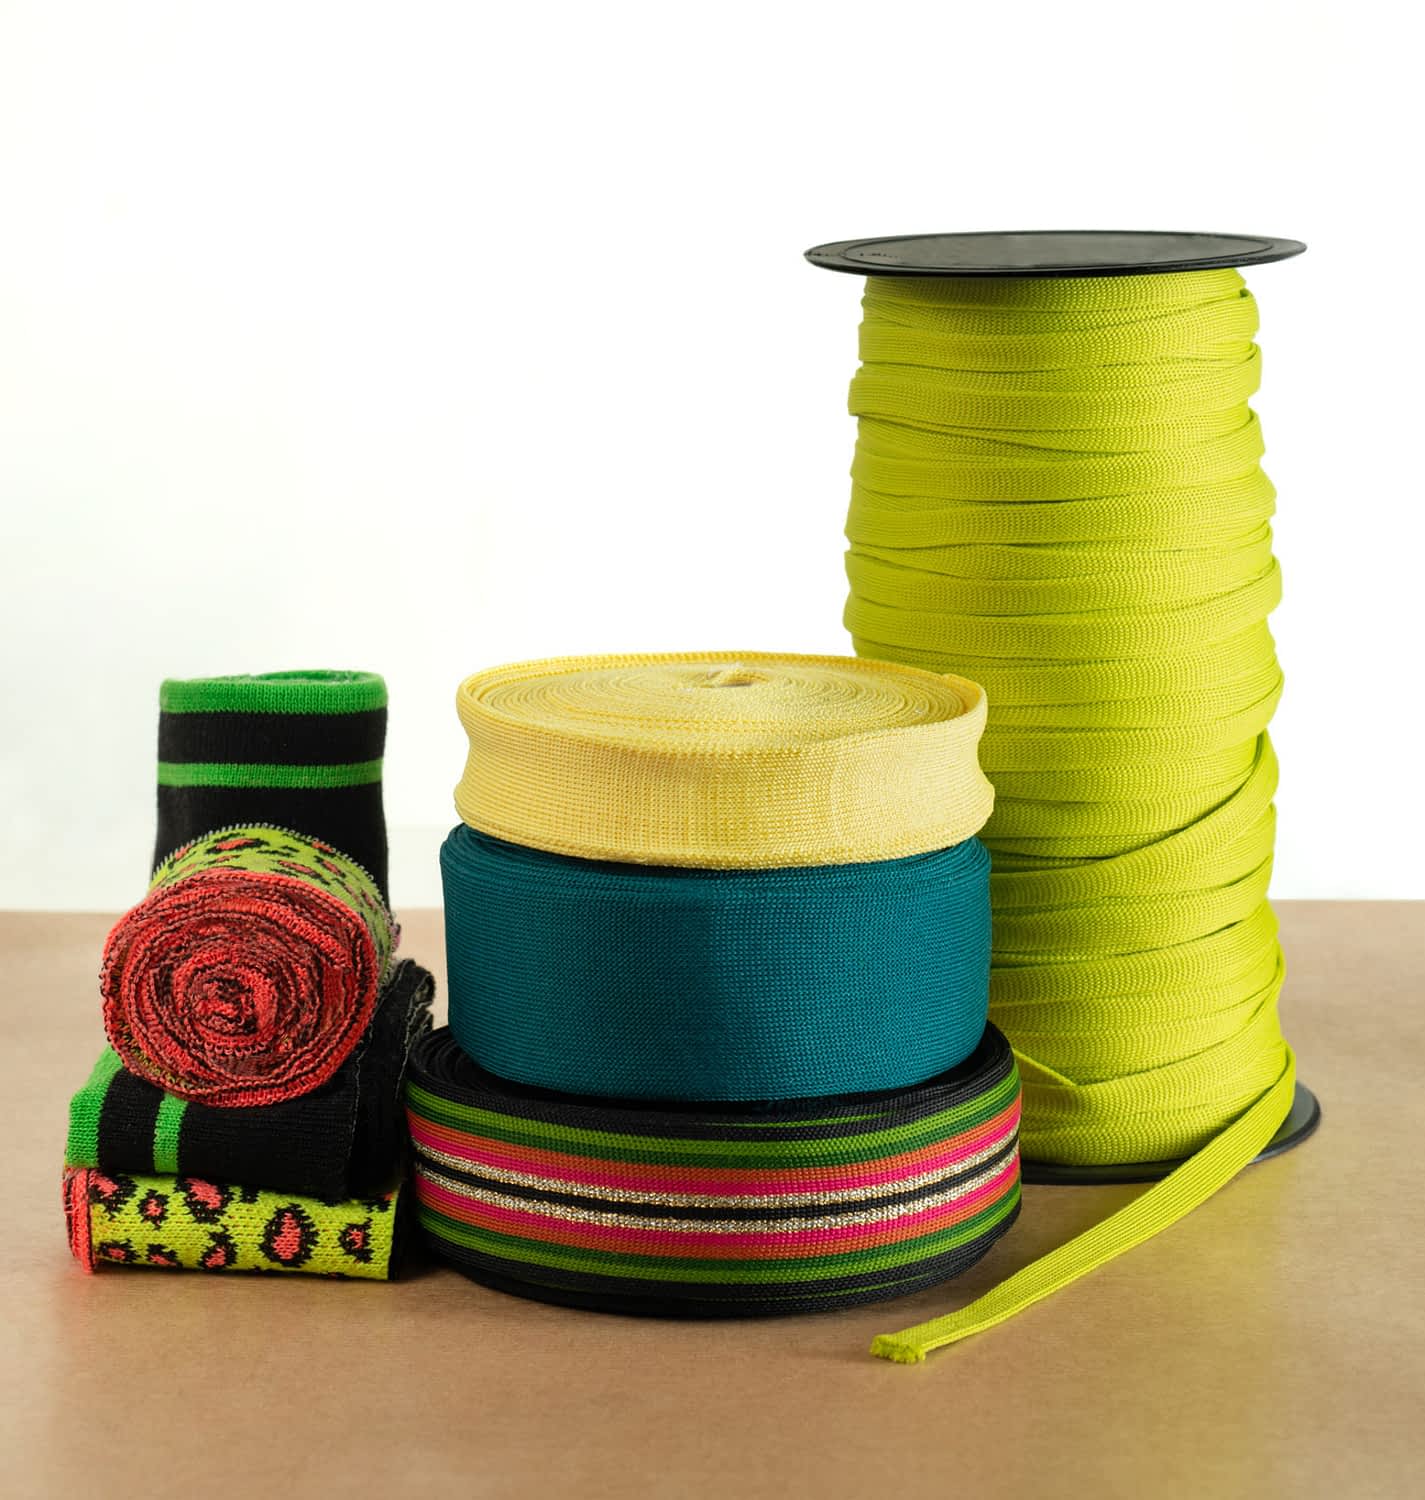
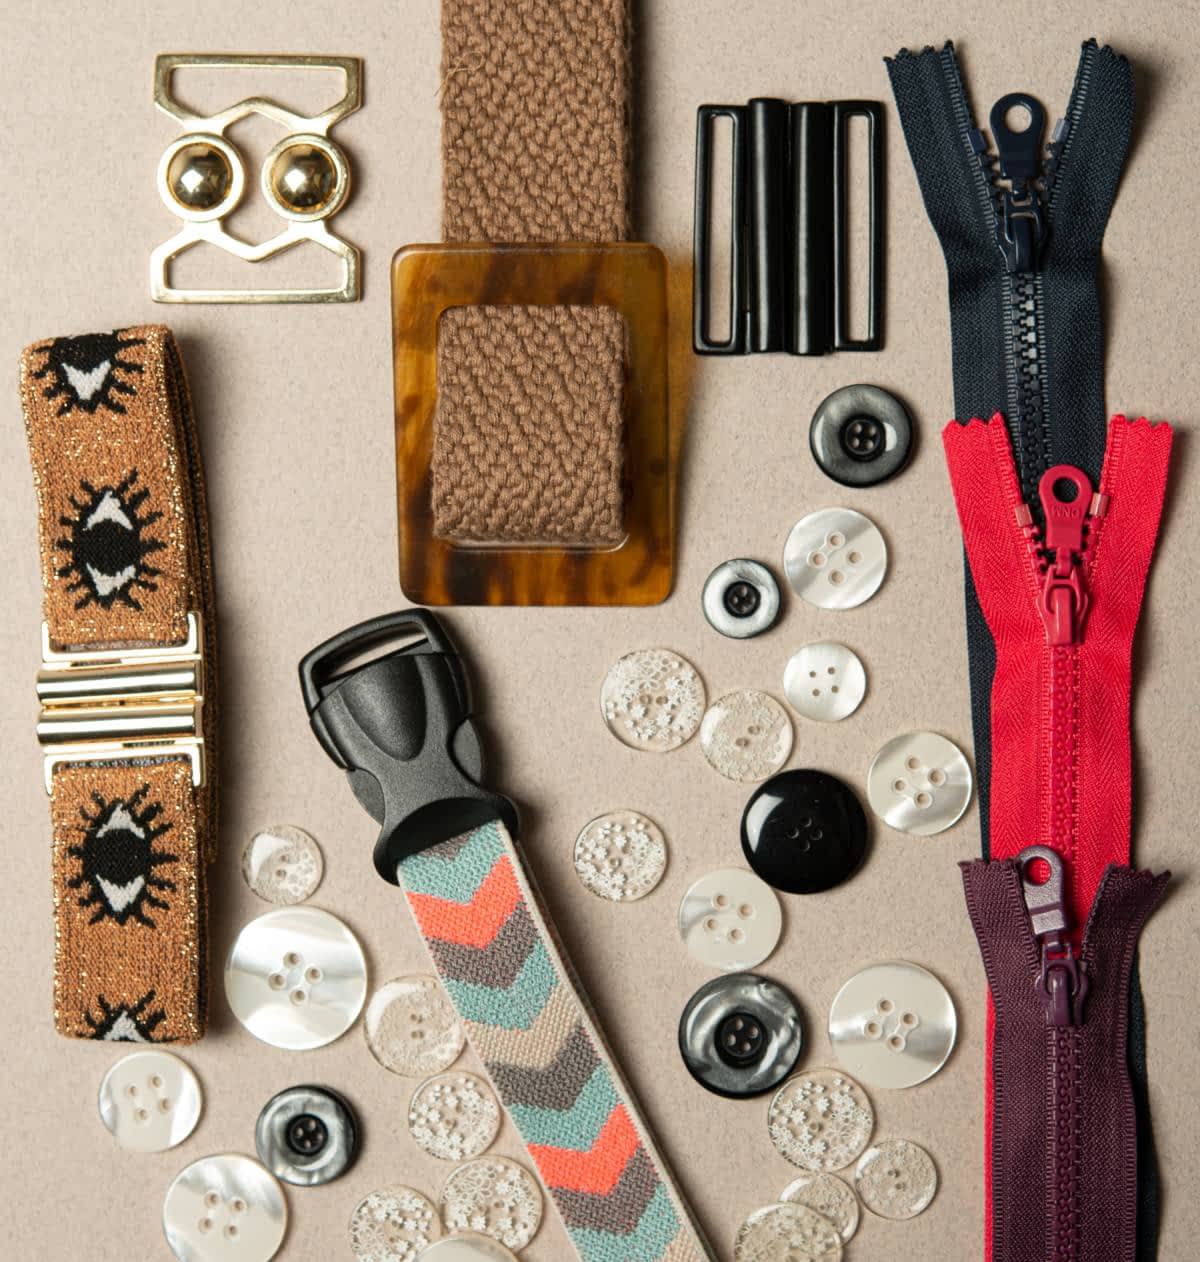
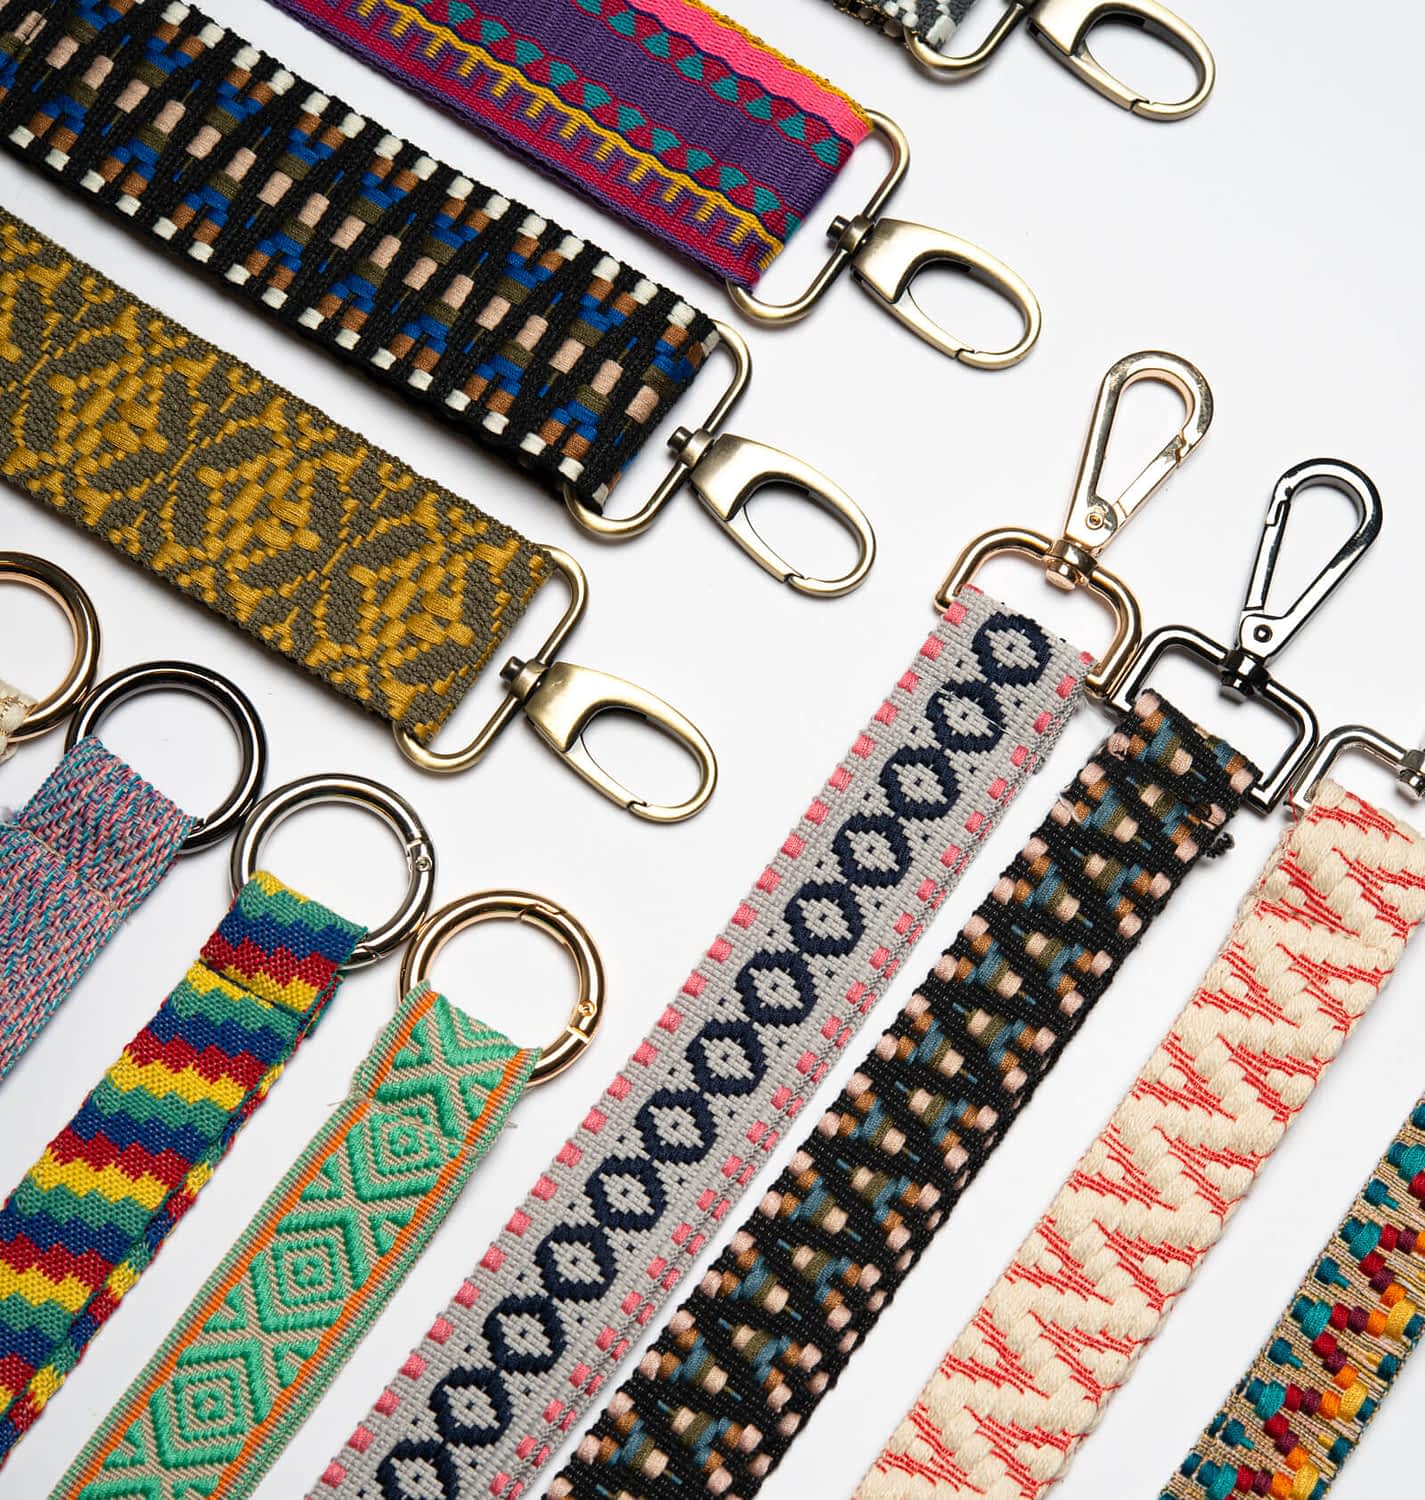
1. You will need 2 exterior fabrics (+ some interfacing if necessary), a lining fabric and various straps/webbing. For the adjustable strap you will also need 2 matching D-rings, 2 swivel hooks and 1 slider.
Dimensions of the pieces (a seam allowance of 1 cm is included):
– 2 exterior top pieces in W 38 cm x H 31 cm
– 1 exterior bottom piece (plain colour) in W 38 cm x H 22 cm
– 2 interior pieces in W 38 cm x H 41 cm
2. To create the strap connectors cut off two pieces of webbing approx. 9 cm in length. Thread one through each D-ring, fold the ends wrong sides together and sew as close as possible to the ring (if necessary, another seam about 0.25 cm away). If you are using a strap made of cotton, finish the raw edges with a zig-zag stitch (polyester straps can be sealed with a lighter).
3. Position the strap connectors at 10 cm from the top edge and sew them in place. Let the raw edges protrude by approx. 2 cm. This will give the strap connectors more stability in the seam later.
4. Place the exterior bottom piece right sides together on the bottom edge of the exterior top piece and sew it in place (unless otherwise mentioned, the seam allowance in this project is 1 cm). For fraying fabrics (like the wool fabric I used), always finish the seam allowance afterwards with a zig-zag stitch.
5. Sew the other exterior top piece in the same way to the exterior bottom piece, right sides together, aligned with the bottom edge.
7. For the handles you will need 2 pieces of webbing, 30 cm each. If your webbing is quite thin, you can fold each piece lengthwise (wrong sides together) and sew the open side closed. Start and end at approx. 6 cm.
8. For the shoulder straps you will need 2 pieces of webbing, 70 cm each. Place each at one top edge in your desired position (right sides together) so that the raw edges protrude upwards by 2 cm. Place one handle at each top edge in between (right sides together). Sew the straps in place.
9. Place the top edges right sides together. The seams of the bottom and top pieces should be aligned. Sew the sides closed.
11. Place the two interior pieces right sides together and sew them together at the sides and bottom.
12. Put the exterior bag into the lining bag (right sides together). Keep the handles/straps down and between the two bags.
13. Align the top edges all around and sew together. Leave a turning gap of approx. 12 cm on one side. Do NOT trim any protruding webbing.
15. Shape the top edge and topstitch close to the edge all around. The turning gap is automatically closed. If necessary, topstitch again with a small distance to your previous seam.
16. For the long shoulder strap you will need about 140 cm of webbing. Make sure to finish the raw edges (with a zig-zag stitch / lighter). Thread one end of the strap through the first swivel hook for about 5 cm.
18. Thread the other end of the strap through the slider from the bottom up and back down the other side. Then thread it through the second swivel hook.
19. Now thread the end of the strap through the slider again in the same way, protruding for about 4 cm.
20. Fold the end in twice for about 1.5 cm each. Sew in place with two seams to the strap that has just been threaded through for the second time.
